
February 20, 2017
How to Take the Best Before & After Picture
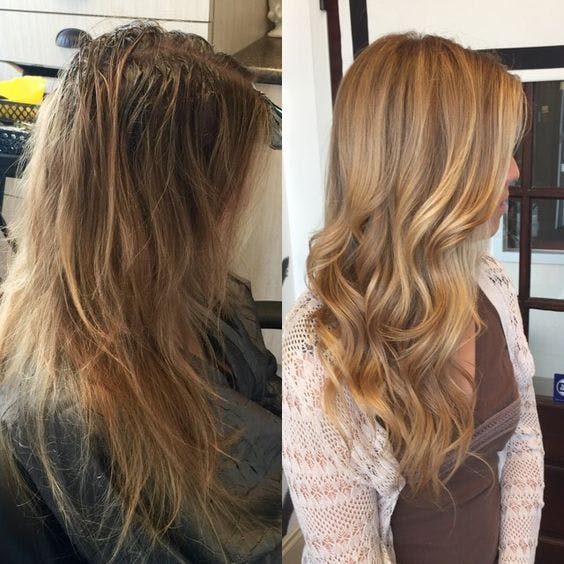
Before and After pictures are an important part of working in the beauty industry. They show off your talents as an artist, stylist, skin care expert etc. in a fun (and sometimes seemingly magical) way. But, in order for your photo to make a positive impact, there are just a few things to consider before snapping that picture and posting it online. Read on to discover how to create the perfect before and after shot!
Remember to take the “before” photo!
It’s easy to forget to snap a photo when you’re excited to get started on your client’s transformation. However, even though photos of your finished work are great, it’s nice to see where you started from–especially when the change is significant! Make sure to take a few pictures from every angle for the before photo. Try to take similarly positioned shots for your “after.”
Ask For Permission
It is important to make sure that your client is comfortable with having their picture taken. It’s one thing if it is for your personal use, and another if you plan on posting it on all of your social media platforms. Make sure to ask your client if they mind having their picture taken, and let them know if you plan on sharing it publicly.
Some clients may not want their full face shown in the photo. In that case, get creative with angles! For hair, take some snapshots from the back, or comb strands in front of the face for a side shot. For skin or makeup, take a close-up picture of the client and then crop away the parts of the image that you do not need. This is also a good way to highlight and focus-in on your work.


Picture Quality
Picture quality can make a huge difference in your before and after pictures. Ideally, you might have an SLR or digital camera that you can use for client photos, but most of the time the easiest method is snapping a picture from your phone.
Phone pictures can be notoriously grainy or blurry, but this can be avoided by making sure you have good (preferably natural) lighting, clear focus (stand…very….still), and a clean lens (yes, phone lenses can get dirty too).
Where to Take the Photo
Consider location. You may not be an expert photographer, but think about what makes a photo clean and professional. A picture with a messy table and an bright red EXIT sign in the background can take away from the subject you are trying to shoot. Find a location with a solid or fun background (simple walls and outdoor shots normally work well) and snap away!
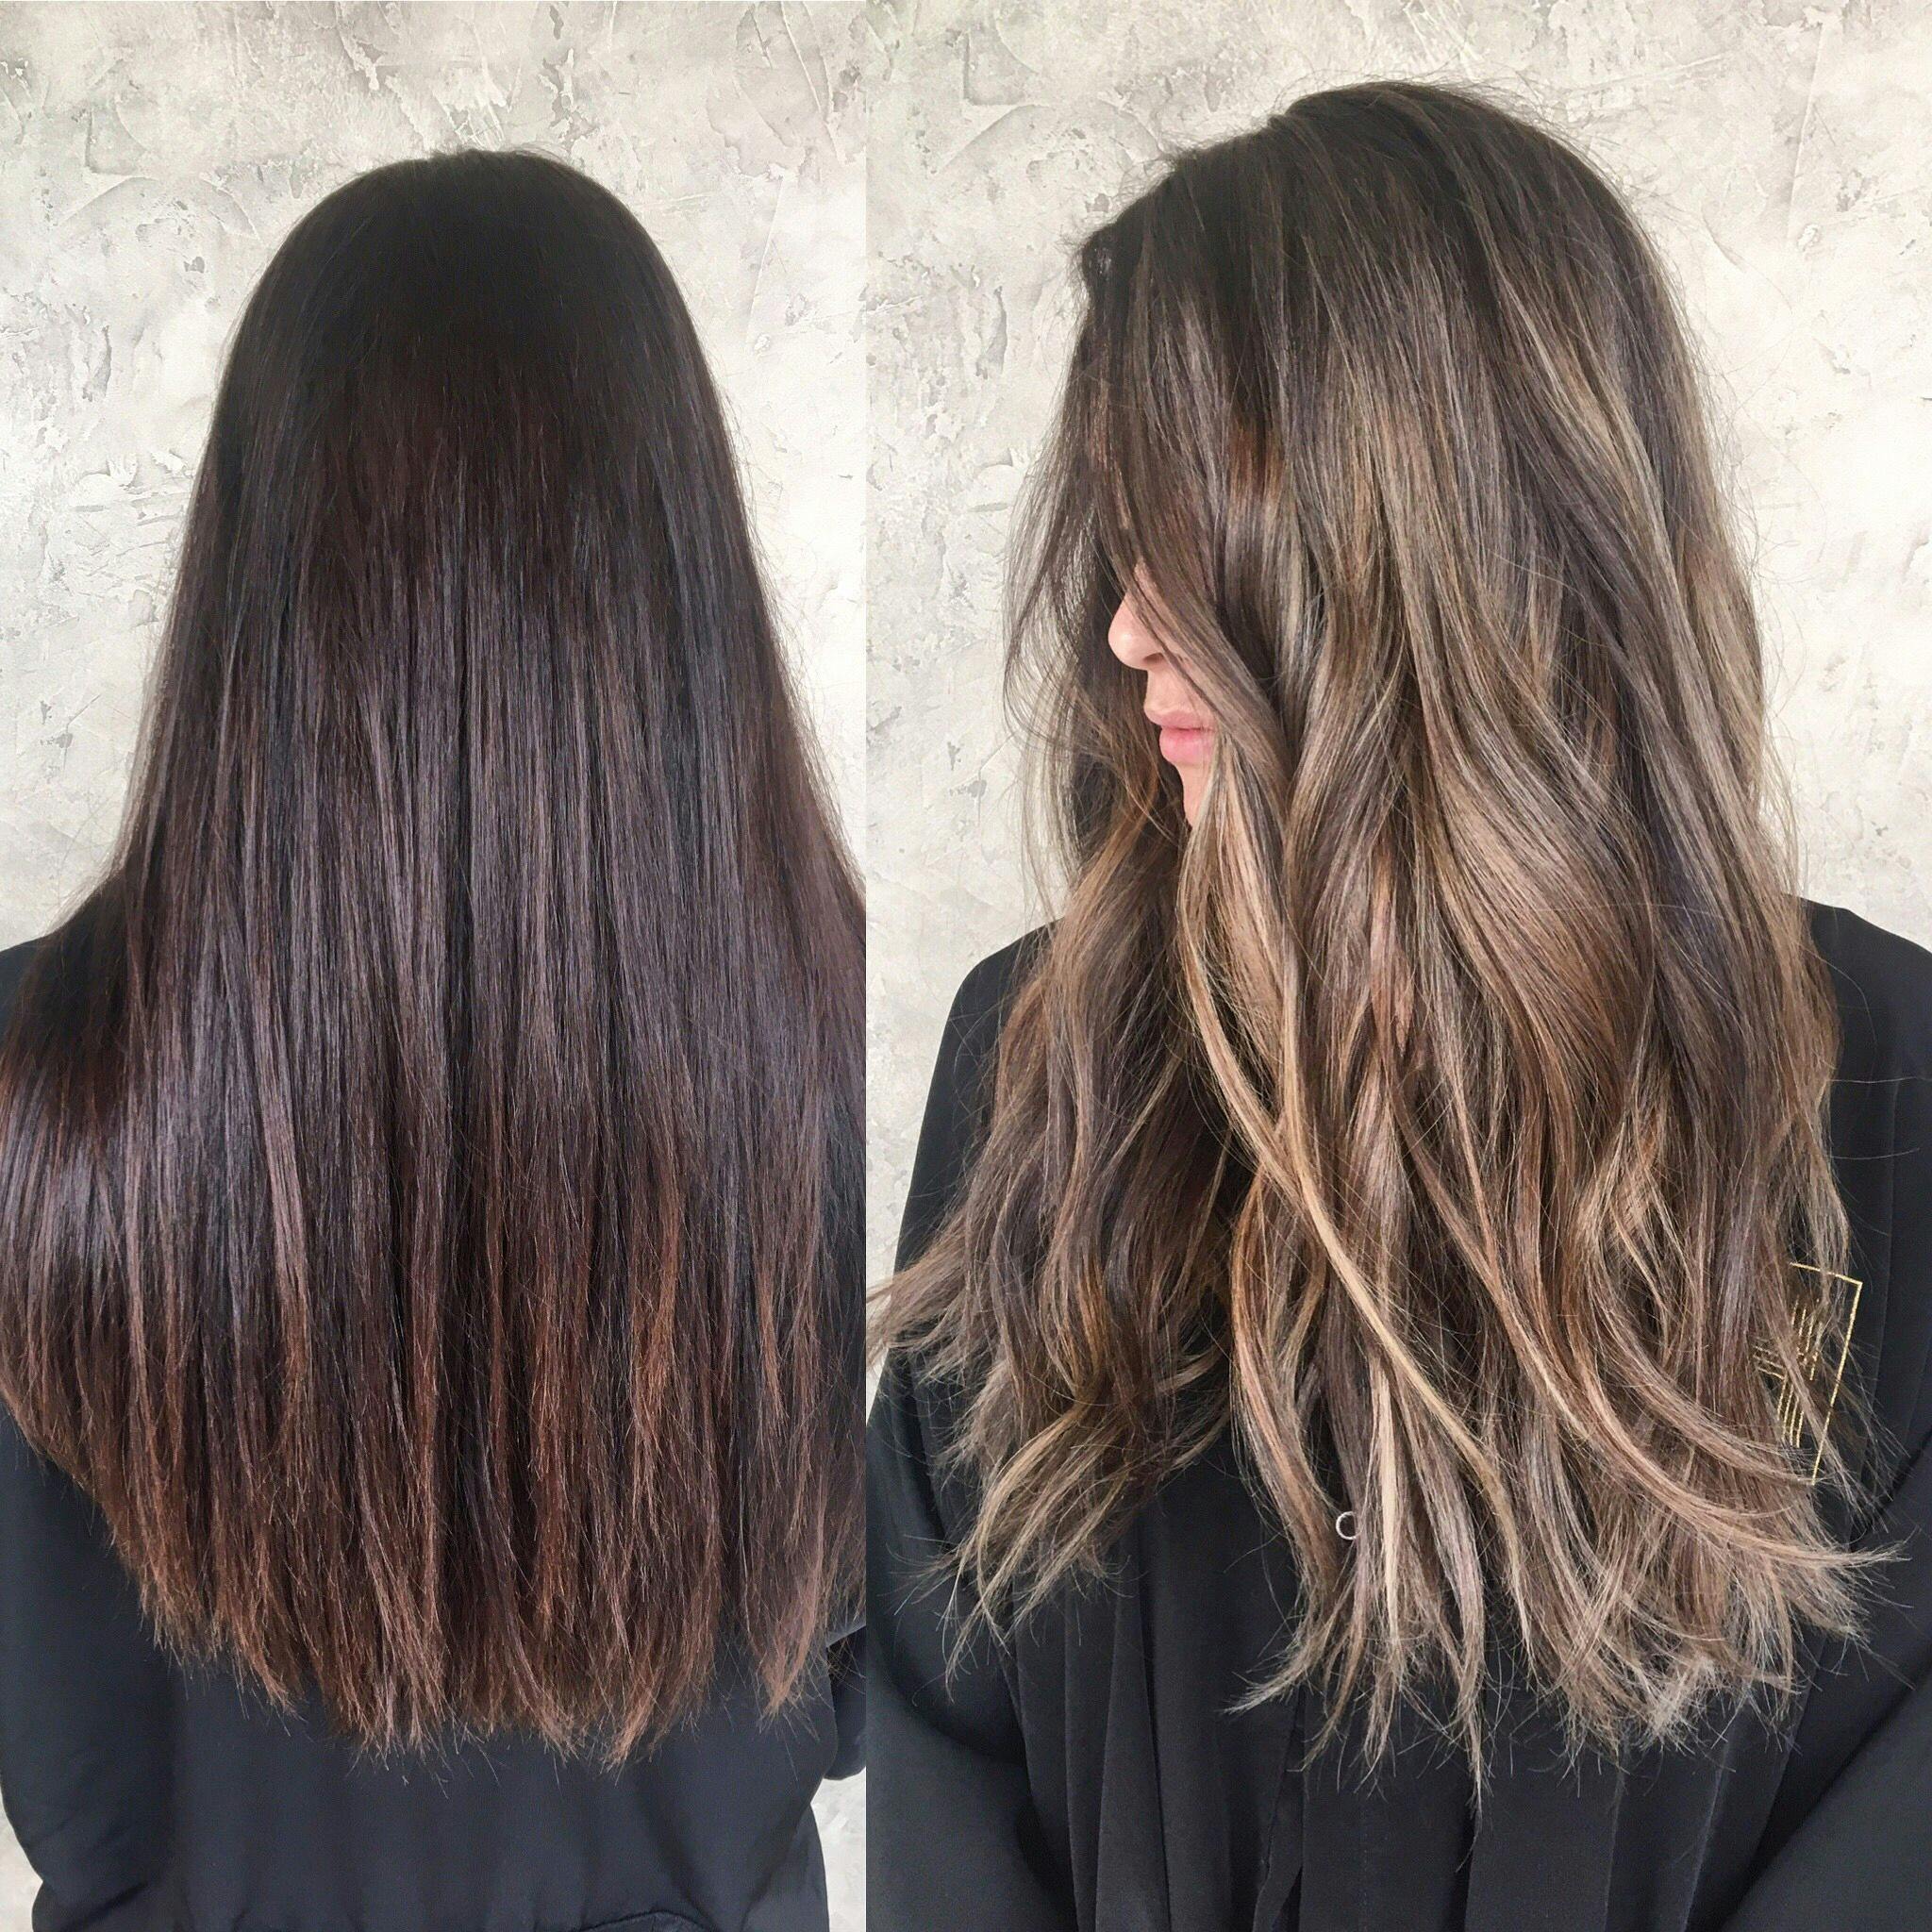
Photo Editing Apps
Even though you should not use a photo editor to change the outcome of your work (adding one filter can sometimes make that golden blonde hair color into something that looks more like carmel brown), a little editing can go a long way. When the photo looks too dark, add brightness or contrast. Lighting too yellow or blue toned? Tweak the temperature and saturation. You can download many of these editing tools for free!
Apps to Download
Afterlight
PicFx
vscocam
PicsArt
InstaSize
To Create Side-by-Side Photos:
Layout
PhotoMirror
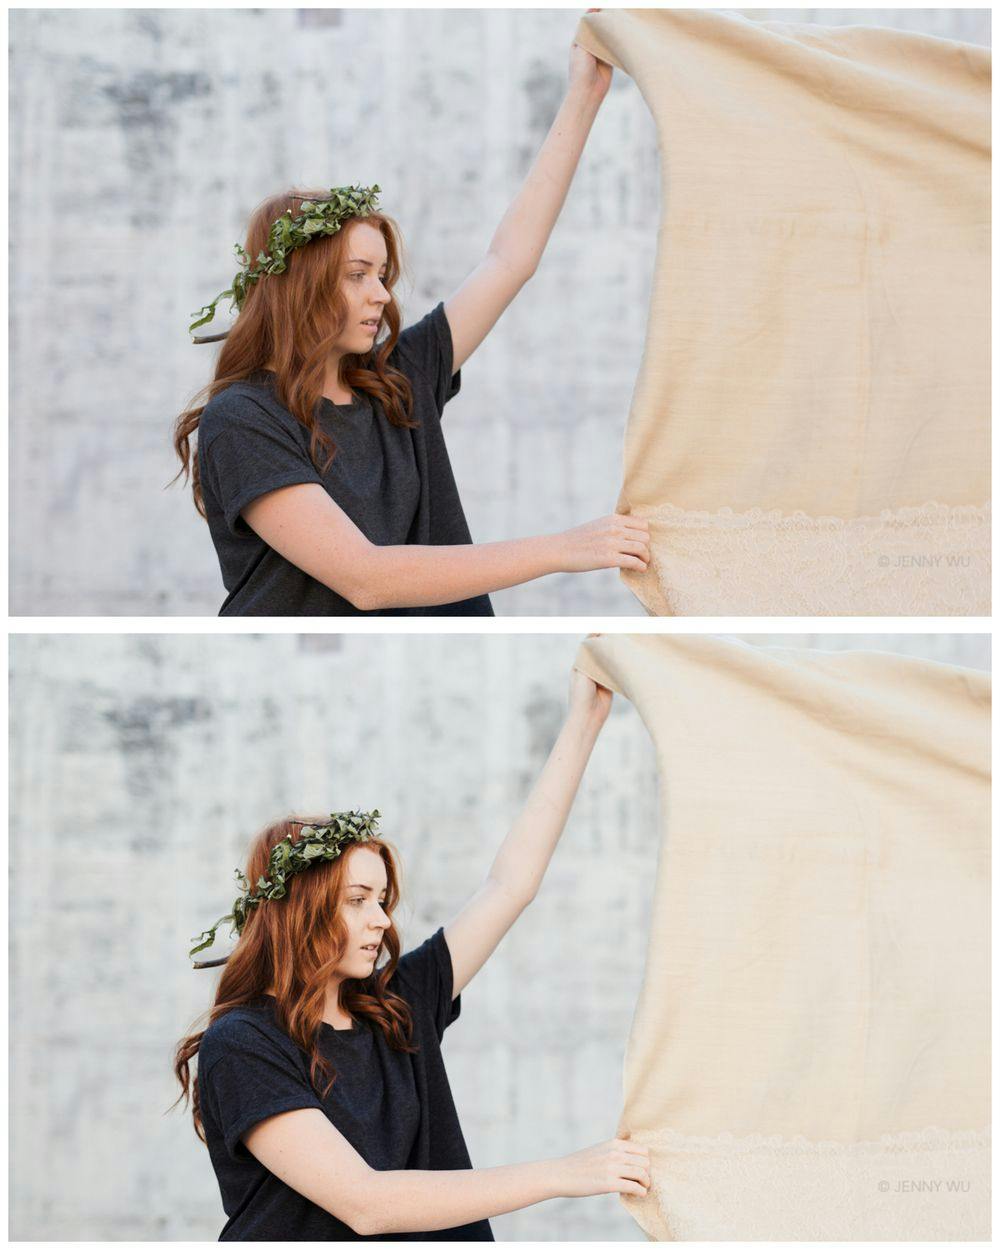
After Photos
You can be selective. Not every client will need a before and after. For example, if you’re a stylist doing a root-touch up on a regular client, it might not necessary to get a before shot. In this case, the after photo will be more beneficial. You can use apps like PhotoMirror to get a unique, two-sided after shot.
Last But Not Least…
Have fun with it! Have you ever heard the saying that one picture is worth a thousand words? Before and after photos showcase your work in a way that no one else can. So go ahead… share your transformation talents with the world!
![]()